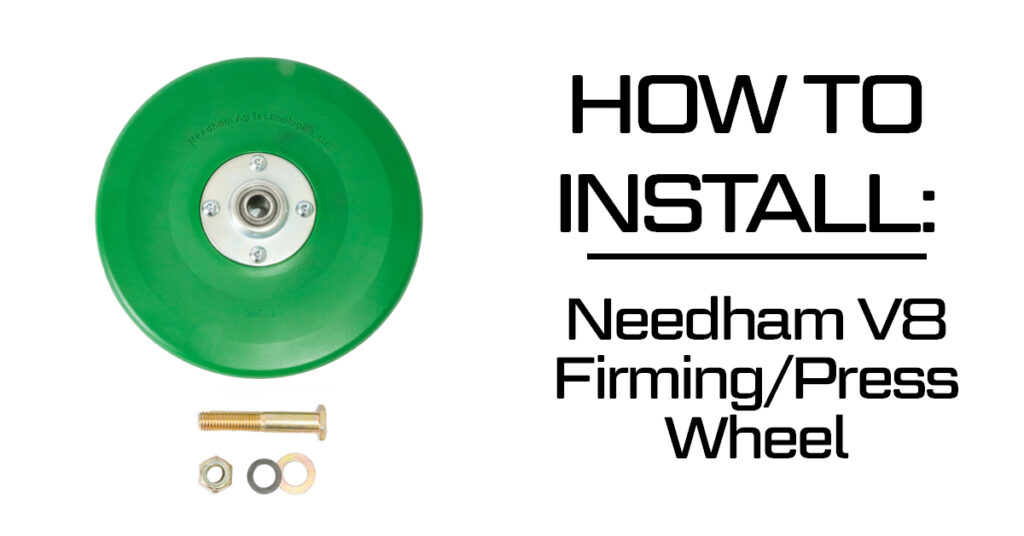
How to Install Needham Ag V8 Firming/Press Wheel
Red E
September 7, 2022

Tools Required
- Ratchet, or Impact (optional)
- Torque wrench
- 15/16” Wrench
- 15/16” Socket
Design Characteristics
- Urethane material remains durable, flexible, and resists wear.
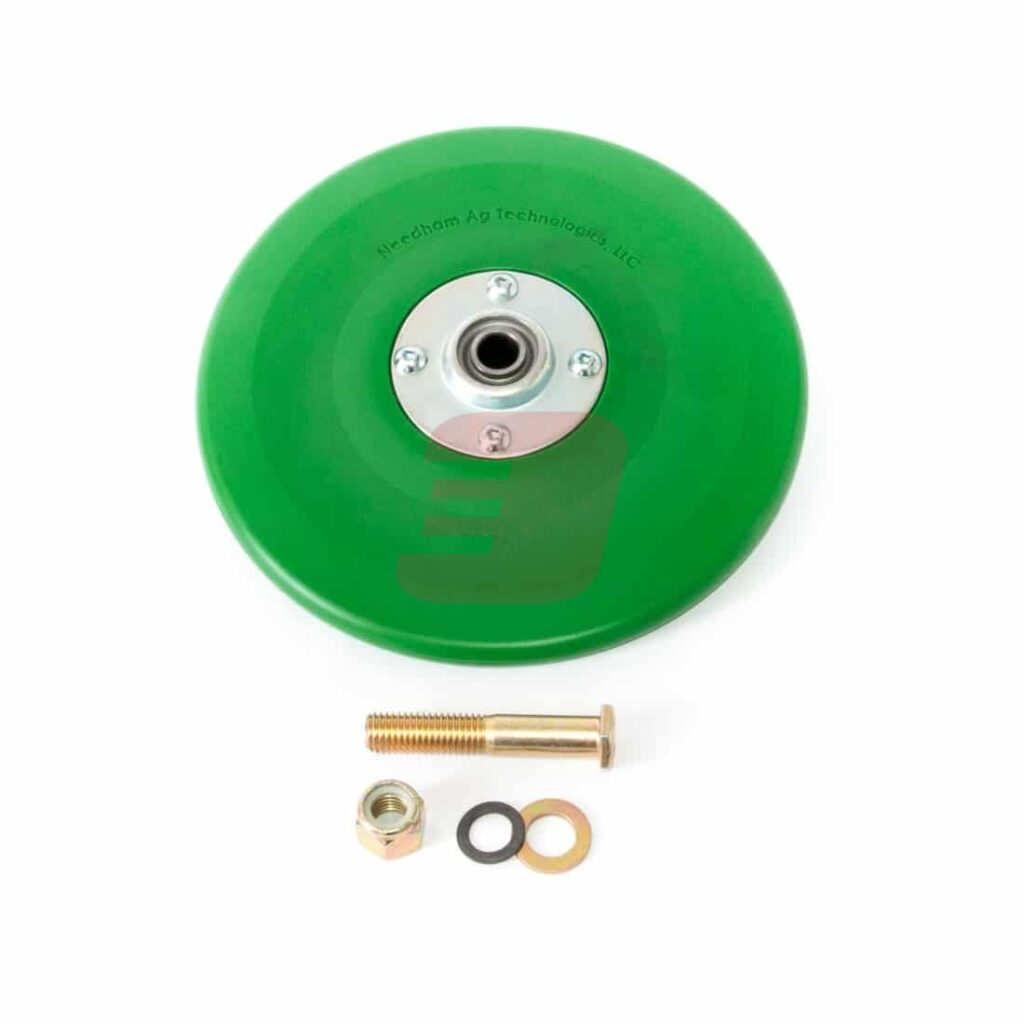
- Grade 8 mounting hardware
- PEER SeedXtreme bearing
Time needed: 5 minutes
Older style OEM firming press wheels are not shaped to properly fit into the seed trench resulting in seed that is not consistently placed. The Needham Ag Heavy Duty V8 Firming Press Wheel is flexible and designed to fit fully into the seed trench, ensuring each seed is pressed into the bottom of the furrow. This establishes good soil contact with the seed for more consistent germination and stronger stands.
NOTE: Most operators find that less down-pressure needs to be applied to the Needham Ag V8 Firming wheel compared to OEM wheels. By reducing the down-pressure to the mid position, around 10lb can be transferred to the disc blade to aid soil and residue cutting.
- Remove old press wheel
Remove the old firming press wheel from press wheel arm.
- Position button-head bolts toward firming wheel arm
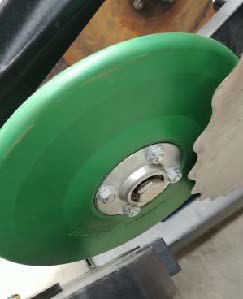
Ensure that the round button-head bolts on the V8 wheel are positioned towards the firming wheel arm. See Figure 2.
Figure 2: Wheel Orientation Guide - Attach spacer
Place thick spacer between the arm and the firming wheel.
- Install new bolt into firming wheel arm
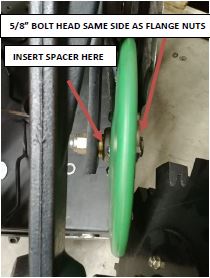
Install new 5/8” bolt (with wheel and thick spacer) into the firming wheel arm, install and torque the lock nut to 150 ft/lb. See Figure 1.
Figure 1: V8 Wheel Bolt Head Side

Heavy Duty Needham V8 Press/Firming Wheel
Category: Air Drill Parts
Tags:


