

Step-by-Step Rebuild Process of John Deere 1890 Drill
Red E
March 21, 2025

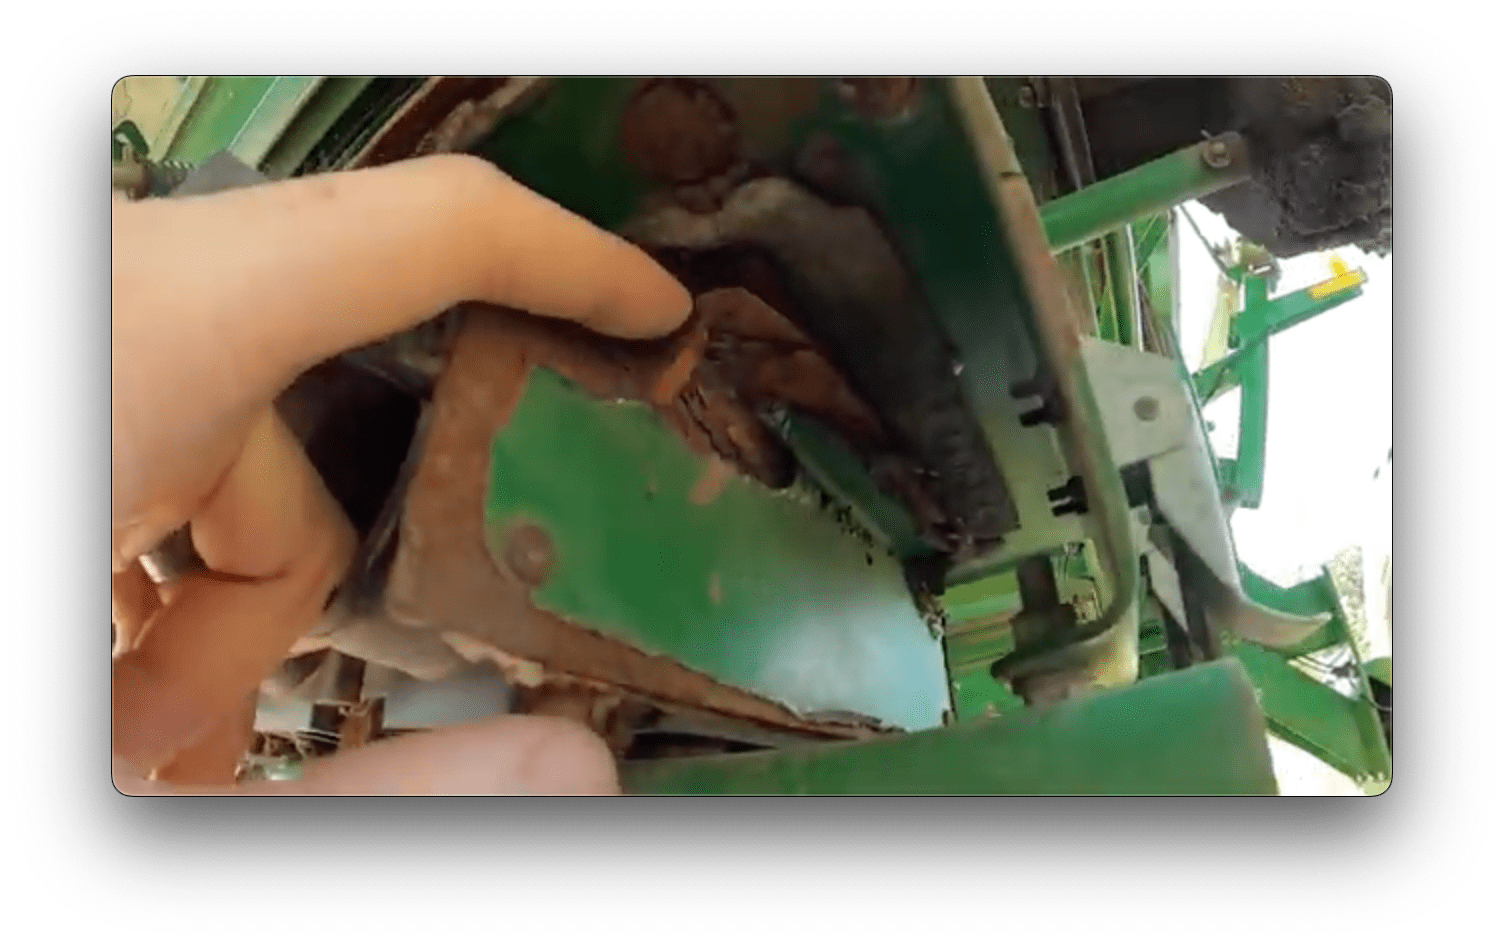
The Red E team recently rebuilt a 40-foot John Deere 1890 drill with roughly 30,000 acres of use. The front rank needed the most help, as all of the depth adjusters were seized. The closing wheel arms were quite sloppy when we did our initial inspection, and those were changed out as well. We discovered corrosion and rust on the lower kit (Matt documented this on camera).
This project used four of our rebuild experts on the job site. We cover the process in a step-by-step guide and include a walkthrough video below.
Video
Step-by-Step
Time needed: 2 days
- Assessing the Equipment
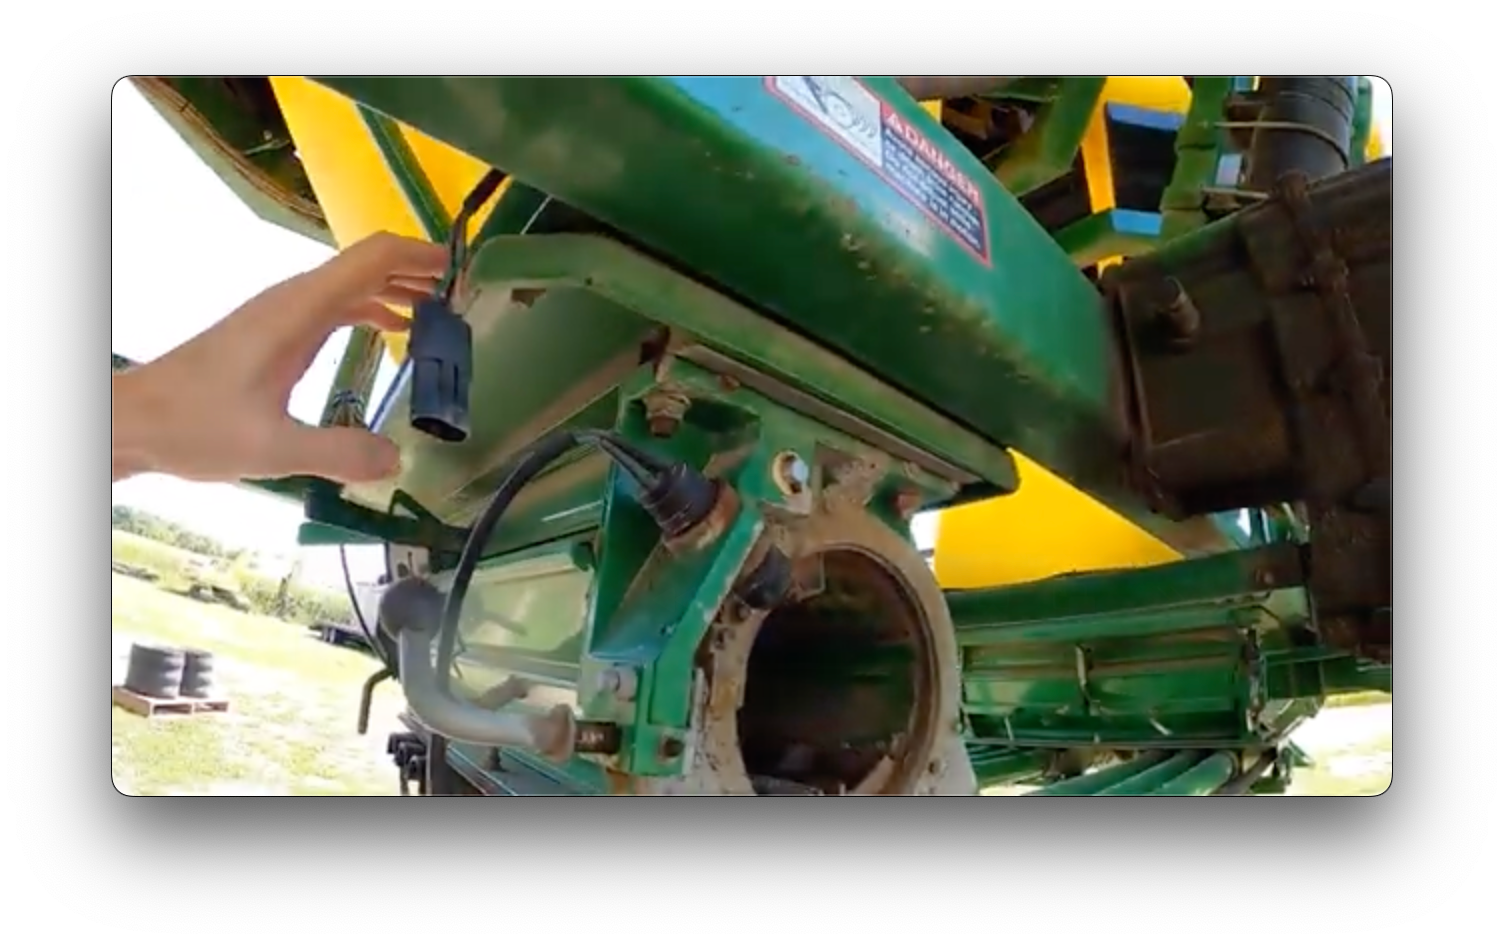
We begin by examining the 195-bushel cart and the drill itself. The rear tank was in good condition. However, the front tank showed significant corrosion, particularly on the end caps and lower kit.

- Disconnecting the Front Tank
We started by removing the bolts at the top plate and disconnecting the ladder. The goal was to drop the entire tank down to assess the extent of the damage and determine the necessary repairs.
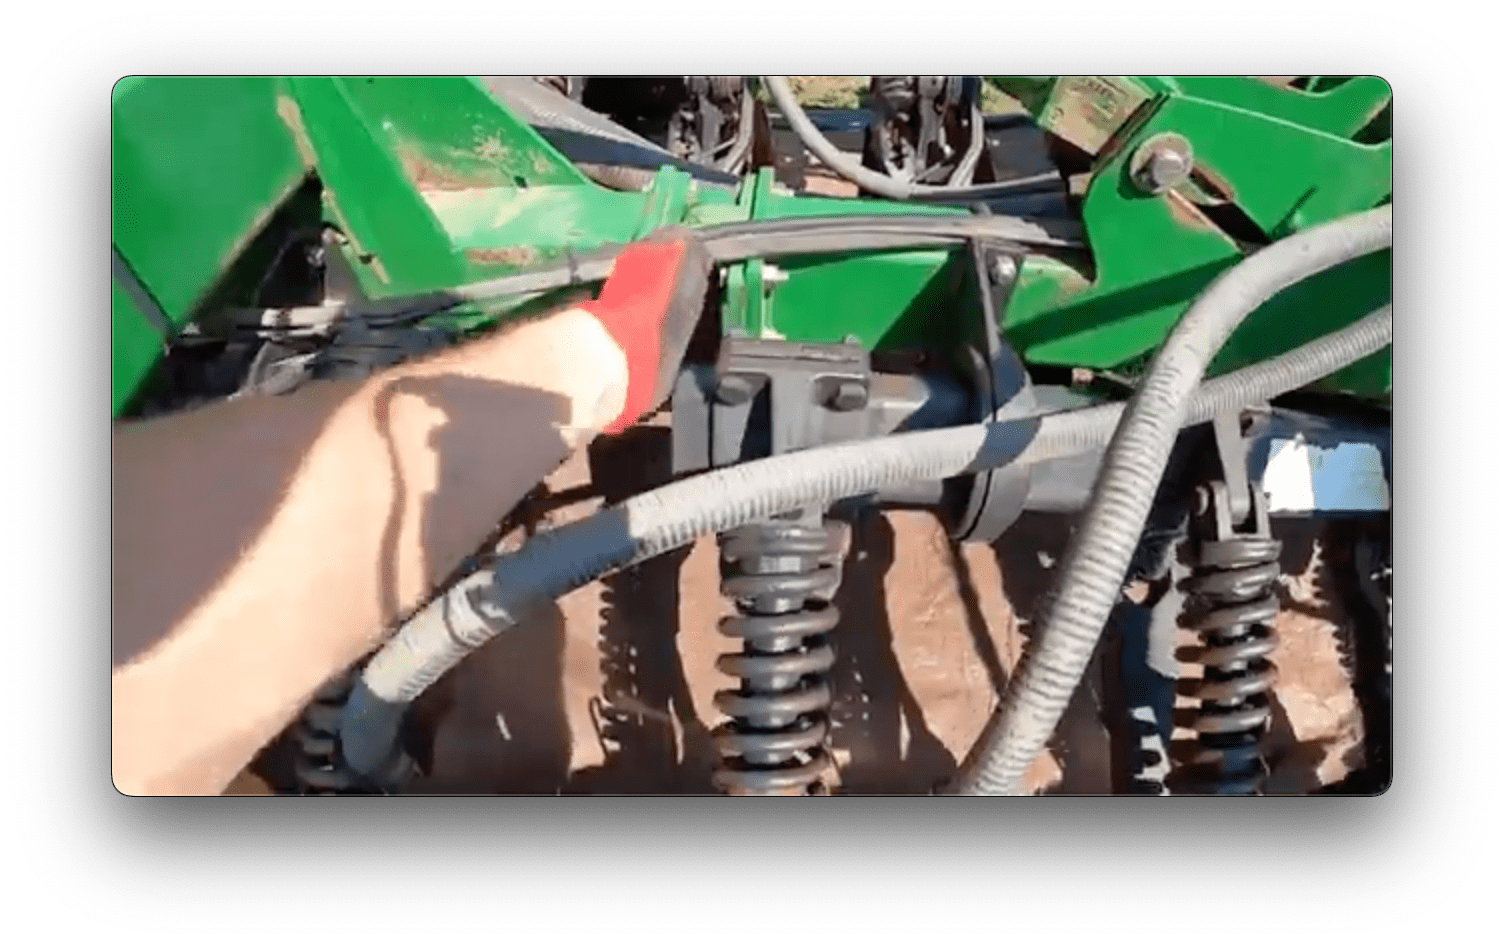
- Beginning the Disassembly of the Drill Rows
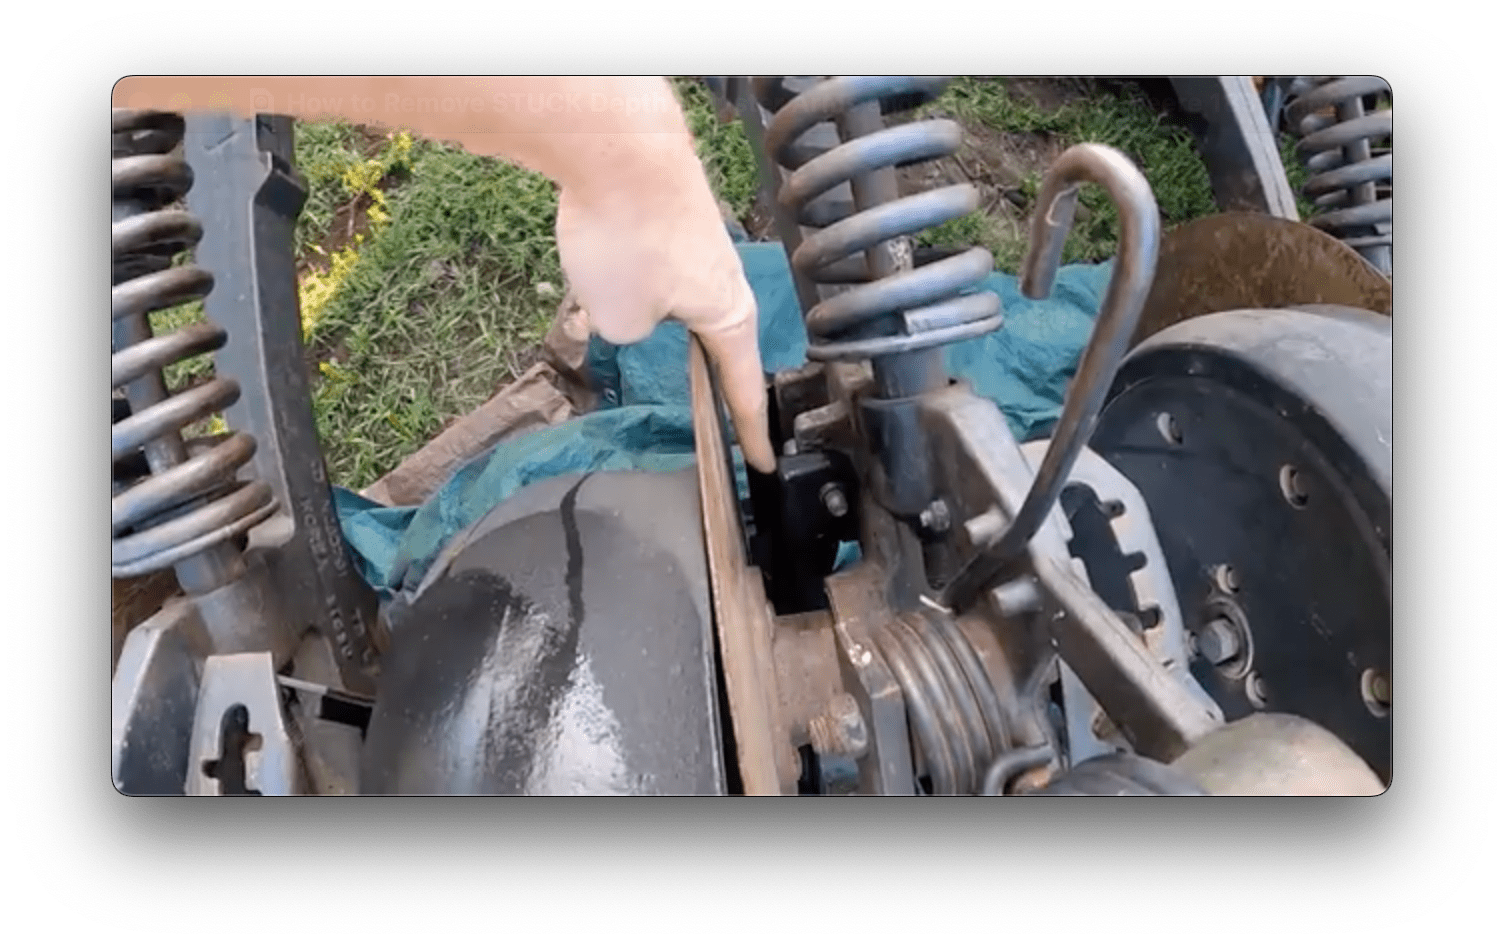
We began disassembling the front rank of the drill, noting that the depth adjusters were seized, and the closing alarms were sloppy. We identified one severely damaged roll unit on the rear rank, located near the fold pivot.
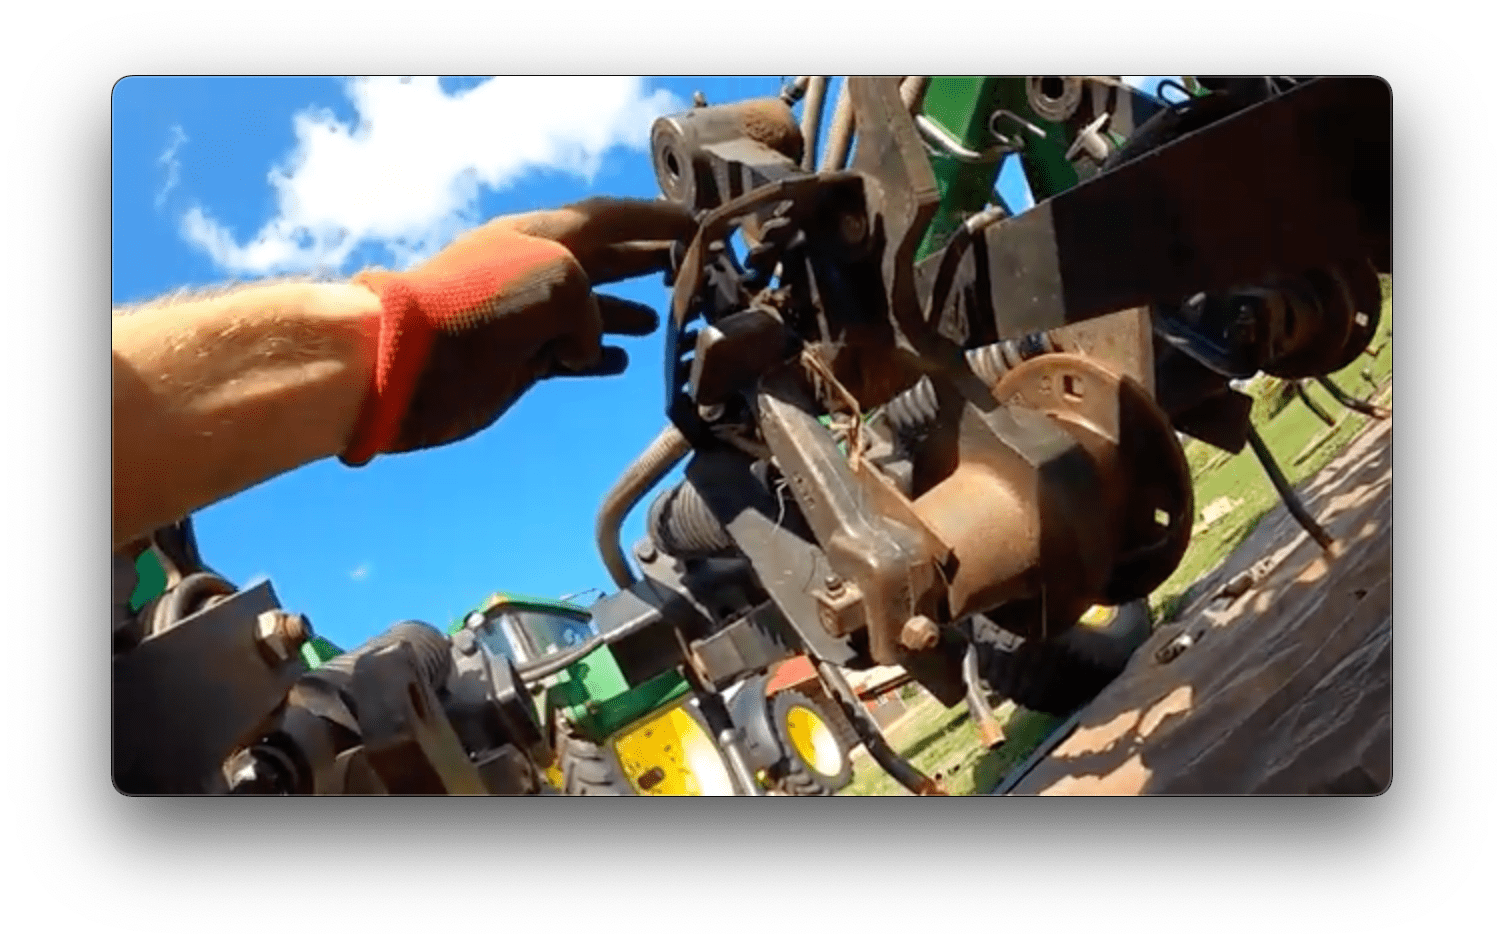
- Removing Cover Plates and Handles
Using an M12 ratchet impact, the nuts were removed from the cover plates. The cover plates, handles, and springs are then removed, and placed in trays to prevent lost fasteners. The depth adjuster arms are torched off.
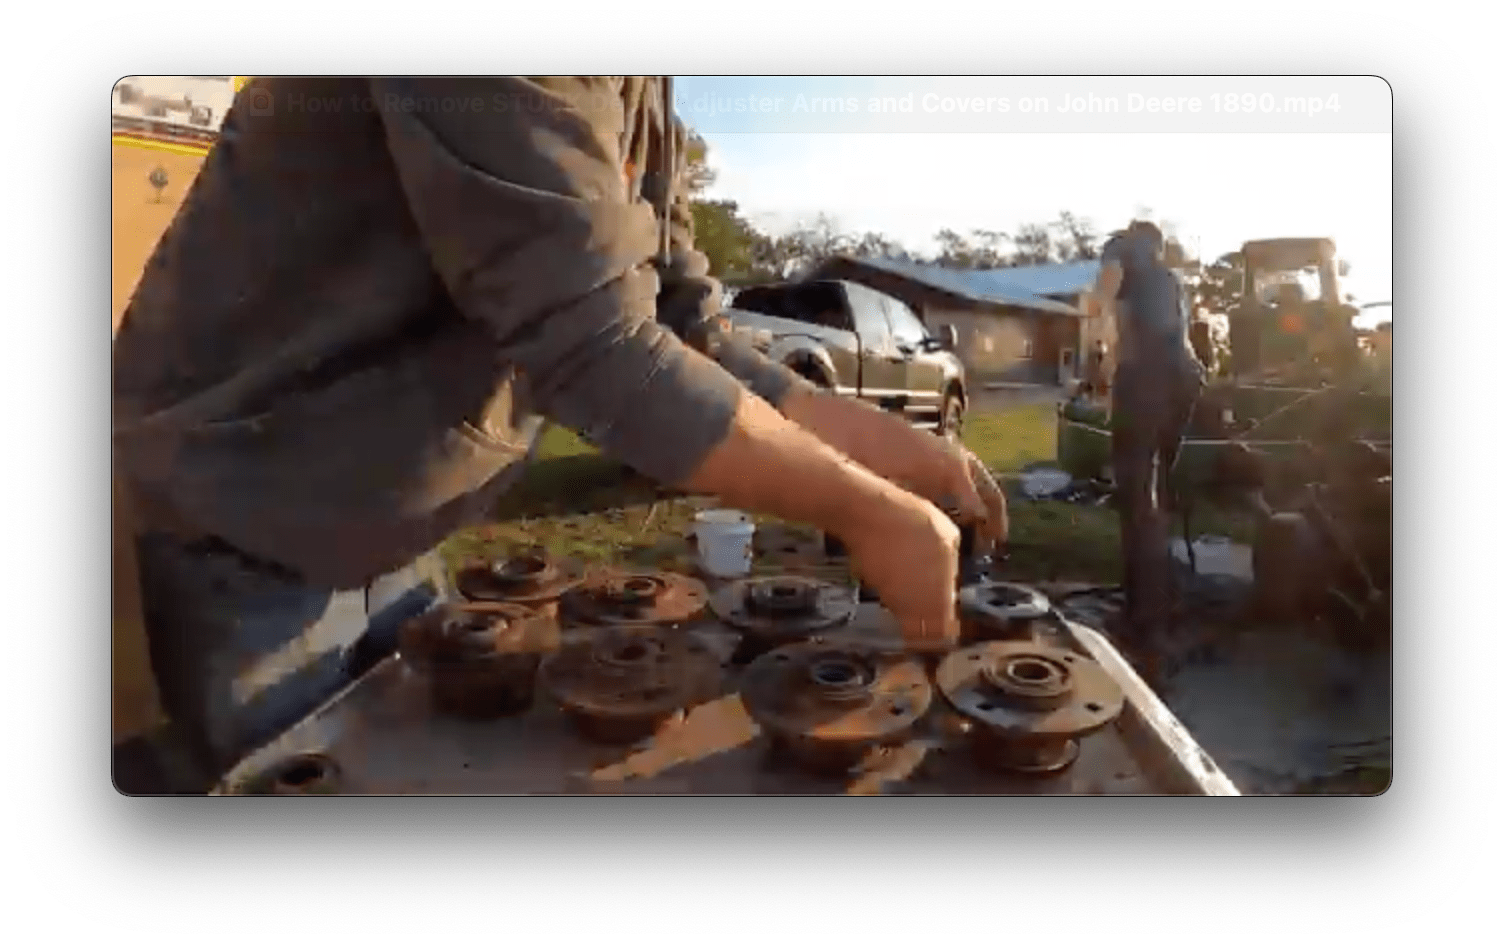
- Hub Maintenance
We begin day two by working on the hubs and removing seals and wearings. The rolls are stripped bare, preparing them for reassembly.
- Seed Boot and C-Tab Replacement (Rear Rank)
On the rear rank, we start replacing the seed boots, boot springs, and C-tabs. We highlighted the difference between worn boots and new Needham Ag boots and emphasized the improved thickness and durability of the new boots. The bolts are reinstalled with Loctite to prevent loosening.
- Bearing Assessment and Maintenance
We assessed the bearings and decided to replace only the seals and wearings, as the bearings have significant life remaining. Usage and long-term plans with bearings are always a good discussion as well during this part of the process.
- Closing Wheel and Press Wheel Arm Installation
The closing wheel and press wheel arms were installed. We ensured all components were properly aligned and secured.
Final Touches
The entire project was completed in two days, including installing arms and gauge wheels. We had the customer review our work while discussing the changes.
Do you have a similar rebuild project in mind? Contact us today to learn how we can help you keep your 1890 running smoothly.
Category: Air Drill Parts