

How to Install Seed Tabs
Red E
September 28, 2022

Tools Required
- 3/8” socket & driver
Design Characteristics
- Easy to install
- UV resistant
- Follows the contour of furrow
- Includes stainless steel bolt
- 2 different sizes to fit all 50/90 and ProSeries style seed boots
Step-by-Step Instructions
Time needed: 5 minutes
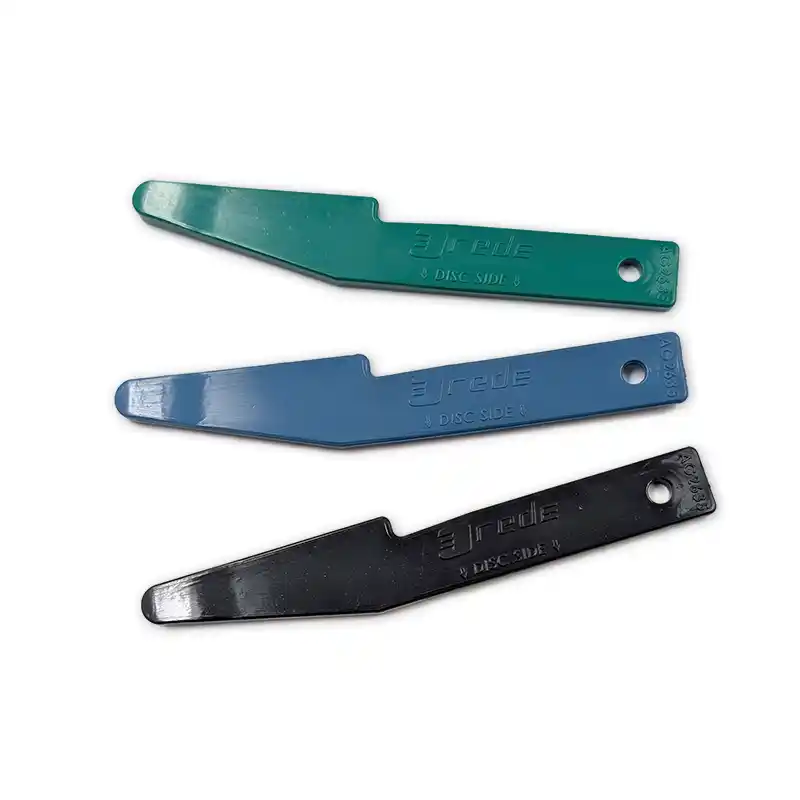
The Bonilla Seed Tab mounts to the end of the seed boot and is responsible for keeping the seed and fertilizer in the trench. As the product exits the boot, the seed tab directs the seed into the lower portion of the v-shaped trench allowing the press/firming wheel to press the seed in the bottom of the furrow. Previous style OEM seed tabs wear quickly and become brittle and break over time due to UV exposure from the elements. These heavy-duty extended wear seed tabs are made from durable, UV-resistant material that provides valuable long-lasting performance.
- Remove old seed tab
Remove old seed tab and hardware.
- Insert clip-on
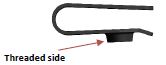
Install clip-on u-nut onto seed boot with threaded side facing down. (Figure 4)
Figure 4: Clip-on Nut
NOTE: U-nut not required if installing on standard wear boot with a threaded hole in the casting. - Install new seed tab
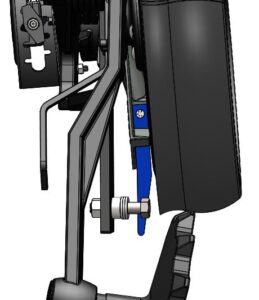
Install new seed tab with the angled tip pointing away from cutting disc using the supplied bolt. (Figure 1)
Figure 1: Seed Tab Assembly
NOTE: The yellow Pro-Stitch style Bonilla seed tabs are directional. Install with the fin facing down and towards the outside of the boot. (Figure 2)
Figure 2: Yellow Seed Tab Orientation
- Optional: Drill 2nd hold to shorten tab length
Drill a 2nd hole 3/4” away from 1st hole to shorten tab length and get longer life by being able to reposition later after tab is worn. (Figure 3)
Figure 3: Seed Tab Additional Hole


Red E Extended Wear Seed Tab
Category: Air Drill Parts
Tags: